How to Make Outdoor Concrete Countertops

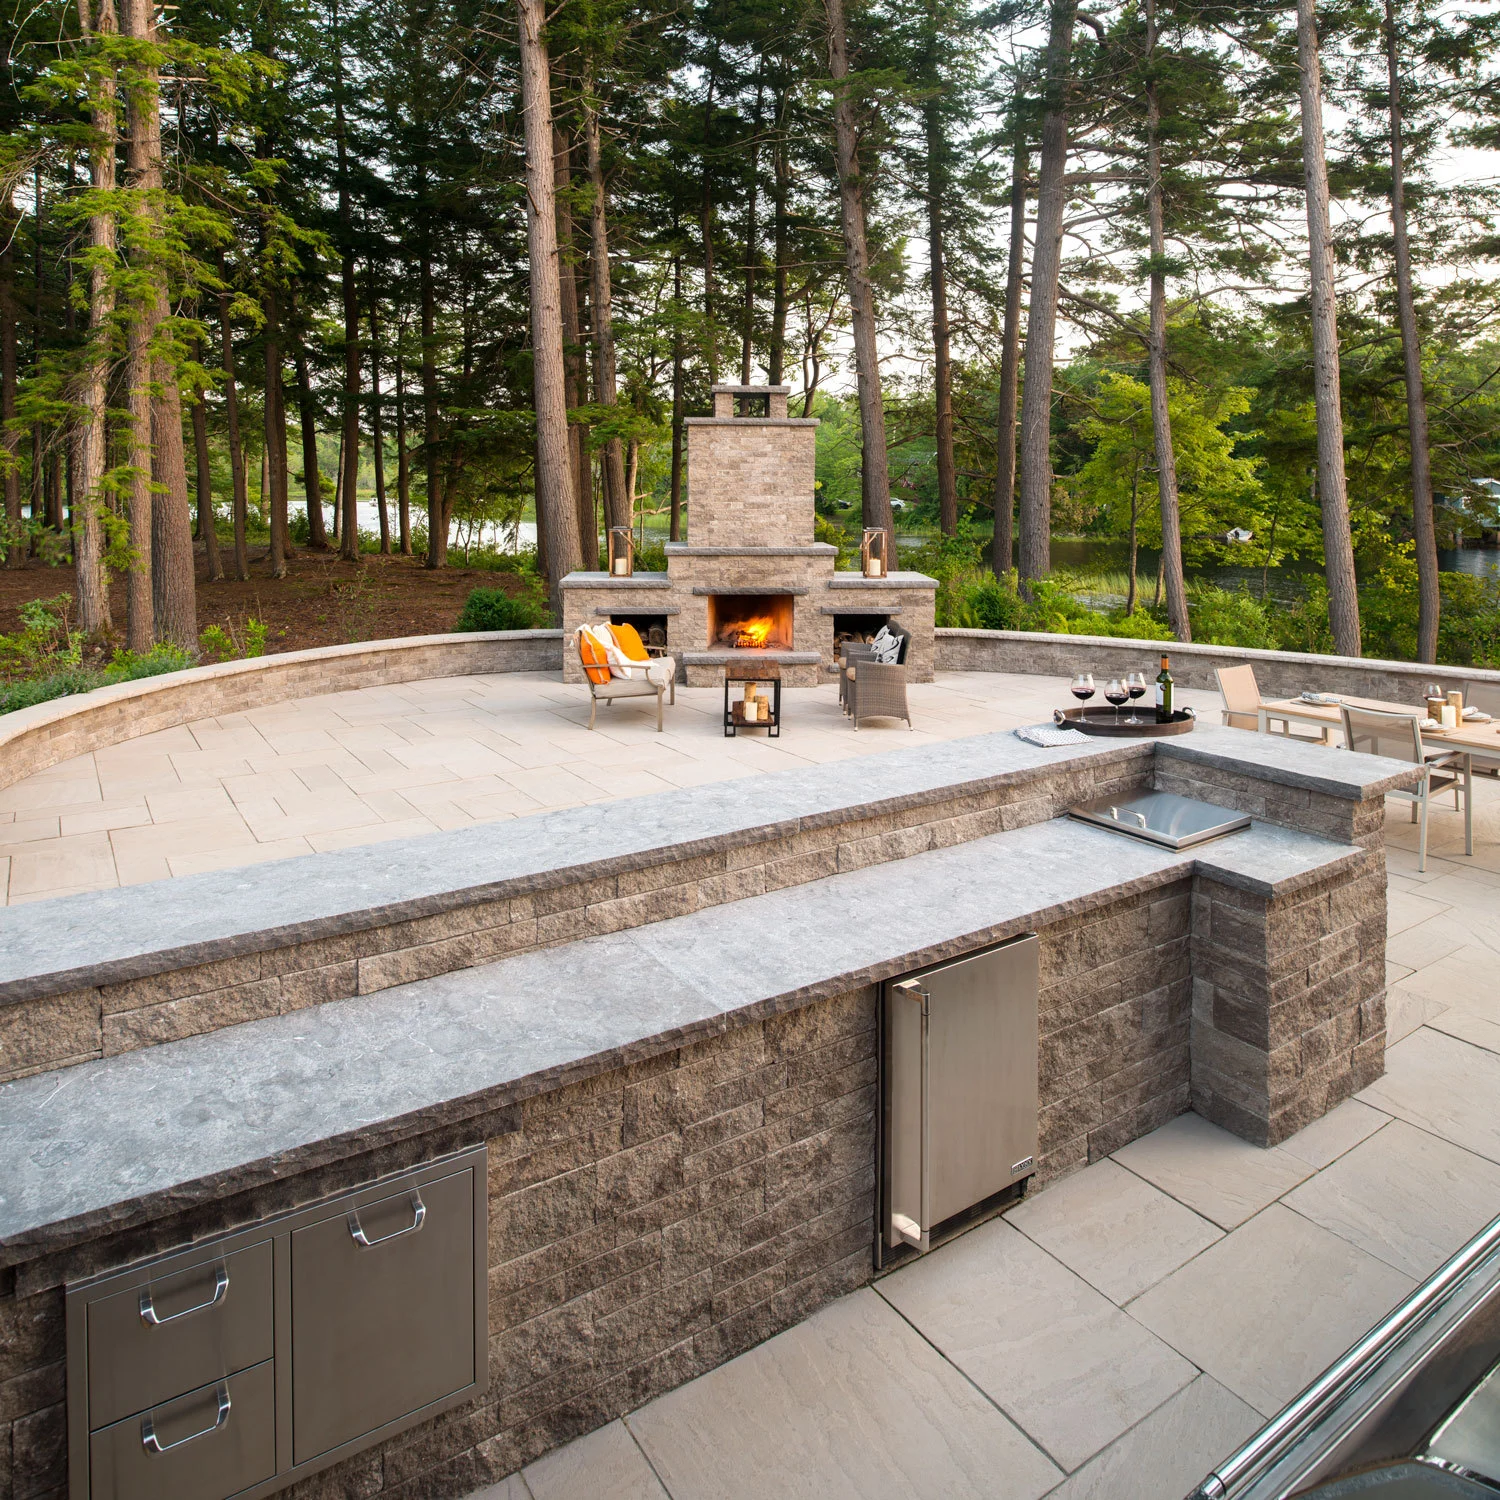
Outdoor concrete countertops offer a durable, stylish, and customizable option for enhancing your outdoor living space. Whether for an outdoor kitchen, bar, or patio table, concrete countertops can withstand the elements while providing a sleek, modern look. In this article, you’ll discover not only the practical benefits of concrete as a countertop material but also how to create your very own with a touch of personal flair.

In this article, you will learn:

  • The advantages of choosing concrete for outdoor countertops.
  • A detailed guide to making your own outdoor concrete countertops.
  • Tips for maintaining and protecting your countertops year-round.

Let’s embark on the journey of crafting durable, beautiful concrete countertops that elevate your outdoor space.

Why Choose Concrete for Outdoor Countertops?

Concrete countertops are renowned for their durability, weather resistance, and versatility. They can be shaped, textured, and colored in endless ways, allowing for complete customization to match your outdoor decor. Unlike other materials, concrete’s robustness makes it ideal for outdoor conditions, enduring sun, rain, and temperature changes with minimal wear.

Materials and Tools Needed

To start your project, you’ll need:

  • Quick-setting concrete mix
  • Plywood and melamine for molds
  • Rebar or mesh reinforcement
  • Screws and silicone caulk
  • Polishing pads and sealant
  • A mixer, trowel, and safety equipment

Creating Your Mold

  1. Design your countertop: Measure and plan the size and shape of your countertop, including any features like a sink or barbecue pit.
  2. Build the mold: Construct a mold using melamine-coated plywood, ensuring it’s securely fastened and leak-proof. Apply silicone caulk to the inside corners to create smooth edges.

Mixing and Pouring the Concrete

  1. Prepare your concrete mix: Follow the instructions on your concrete mix, adjusting for the size and thickness of your countertop.
  2. Add reinforcement: Place rebar or mesh within the mold to strengthen your countertop.
  3. Pour the concrete: Fill the mold with concrete, using a trowel to spread it evenly. Tap the sides to remove air bubbles.

Finishing Touches

  1. Cure the concrete: Allow the concrete to cure as per the mix instructions, usually for at least 48 hours.
  2. Remove the mold: Carefully dismantle the mold and sand any rough edges.
  3. Polish and seal: Polish the surface with polishing pads and apply a concrete sealant to protect against stains and weather damage.

Maintenance and Care

Maintaining your outdoor concrete countertop is straightforward. Regular cleaning with non-abrasive cleaners and reapplying sealant annually will keep your countertops looking new. Avoid placing hot items directly on the surface to prevent thermal shock and potential cracking.

Conclusion

Creating outdoor concrete countertops is a rewarding DIY project that adds functionality and style to your outdoor space. With their robustness and versatility, concrete countertops offer a perfect blend of aesthetics and durability, ideal for any outdoor setting. As you embark on your next outdoor project, consider integrating custom concrete countertops to create a space that’s both beautiful and enduring.

How to paint countertops

Painting countertops is an innovative way to refresh your kitchen or bathroom without undertaking a full renovation. Whether you’re dealing with outdated colors or surfaces that have seen better days, a coat of paint can transform your space dramatically at a fraction of the cost of replacement. This article is your guide to revamping your countertops with just a few tools and a weekend’s worth of effort.

In this article, you will learn:

  • The best types of paint for countertops.
  • Step-by-step instructions for painting countertops.
  • Tips for maintaining painted countertops.

Let’s dive into the world of countertop painting and unveil how you can give your counters a stunning makeover.

Why Paint Countertops?

The allure of painting countertops lies in its cost-effectiveness and the vast array of design possibilities it offers. Instead of splurging on granite, marble, or quartz, you can mimic these looks with paint or simply choose a color that complements your room’s décor. Painting is a quick and relatively easy way to update the appearance of your kitchen or bathroom, making it a popular choice for homeowners looking for a significant change without the significant investment.

Choosing the Right Paint

Not all paints are suitable for countertop application. Epoxy and acrylic are among the top choices due to their durability and ability to adhere to various surfaces. Epoxy offers a glossy, durable finish that can mimic the look of natural stone, while acrylic paints provide a wide range of color options and easier application. Consider your countertop’s usage, the finish you desire, and maintenance requirements when selecting your paint.

Preparation for Painting

A successful painting project begins with thorough preparation. Start by cleaning your countertops with a degreasing cleaner to remove any buildup, followed by sanding to create a surface that allows the primer and paint to adhere better. Choose a primer that’s compatible with your countertop material and the type of paint you’re using. Gather all necessary tools and materials before you begin to ensure a smooth process.

Step-by-Step Painting Process

  1. Apply Primer: After preparing your surface, apply a coat of primer and let it dry according to the manufacturer’s instructions.
  2. Paint: Using a roller or brush designed for smooth surfaces, apply your chosen paint in thin, even coats. Allow adequate drying time between coats, as recommended.
  3. Sealant: Once the paint is fully dry, apply a sealant to protect your newly painted countertops from scratches, stains, and water damage.

Finishing Touches

The right sealant not only extends the life of your painted countertops but also enhances their appearance. Opt for a food-safe sealant if your countertops will come into direct contact with food. Follow the product instructions for the best results, and allow plenty of drying time before using your countertops.

Maintenance and Care

Maintaining painted countertops is straightforward. Clean them regularly with non-abrasive cleaners and avoid cutting directly on the surface. Be mindful of hot pots and pans, as extreme heat can damage the paint and sealant. With proper care, your painted countertops can remain beautiful and durable for years.

Conclusion

Painting your countertops is a budget-friendly way to achieve a fresh, new look in your kitchen or bathroom. By selecting the right paint, preparing your surfaces properly, and following the step-by-step guide provided, you can transform your countertops into a stylish and functional focal point. To further enhance your home’s interior, consider exploring creative design ideas for a complete kitchen makeover as your next project. With a little effort and creativity, the possibilities are endless.

Ready to start your countertop painting project?