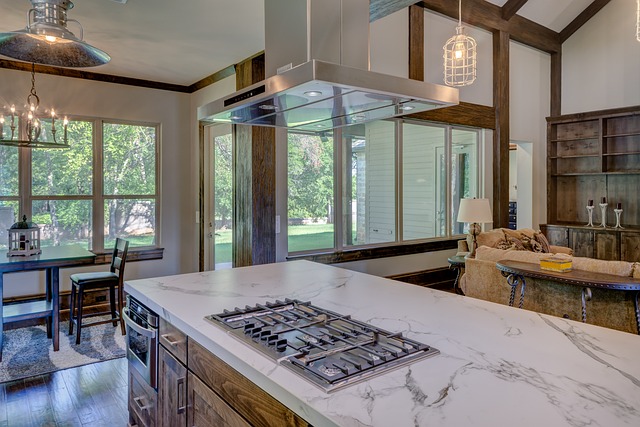
How to Make Outdoor Concrete Countertops

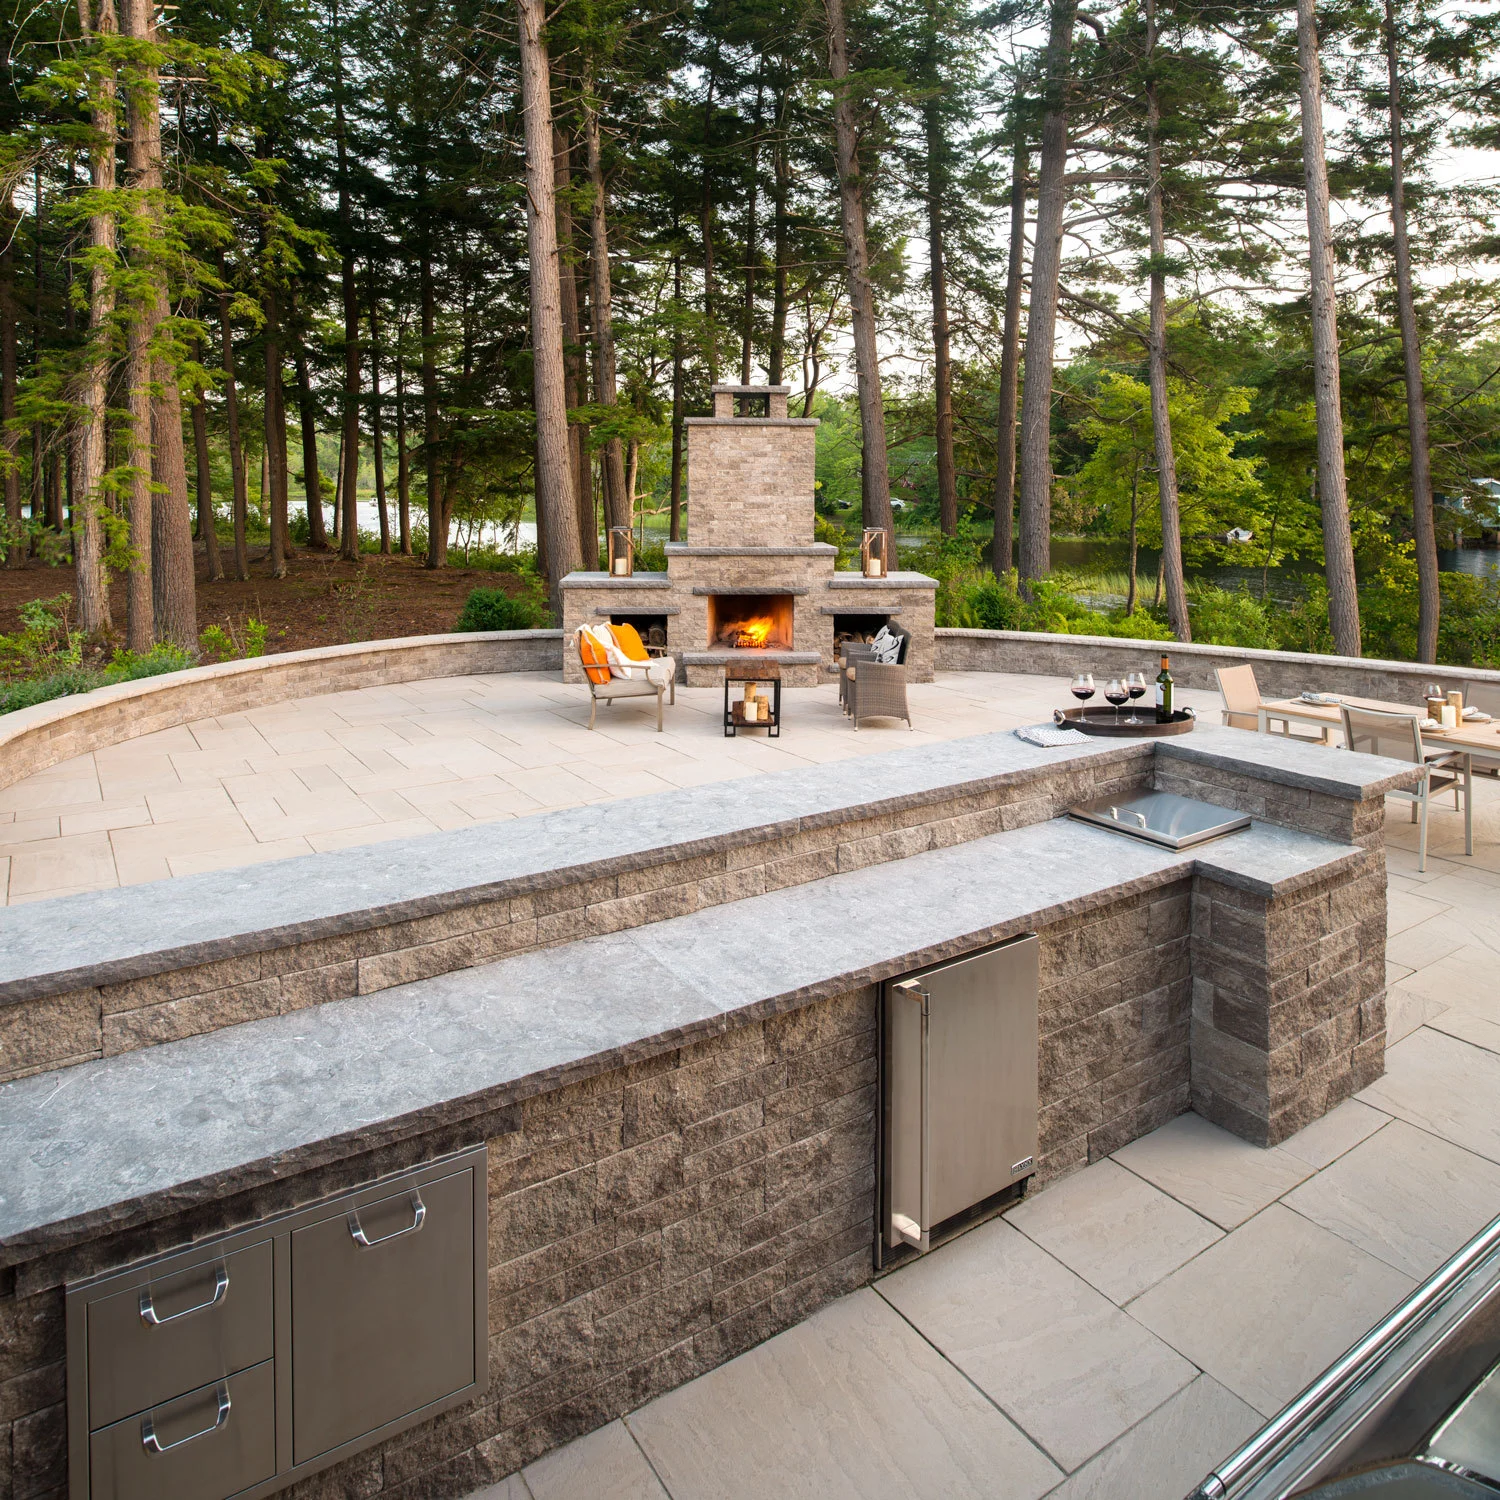
Outdoor concrete countertops offer a durable, stylish, and customizable option for enhancing your outdoor living space. Whether for an outdoor kitchen, bar, or patio table, concrete countertops can withstand the elements while providing a sleek, modern look. In this article, you’ll discover not only the practical benefits of concrete as a countertop material but also how to create your very own with a touch of personal flair.

In this article, you will learn:

  • The advantages of choosing concrete for outdoor countertops.
  • A detailed guide to making your own outdoor concrete countertops.
  • Tips for maintaining and protecting your countertops year-round.

Let’s embark on the journey of crafting durable, beautiful concrete countertops that elevate your outdoor space.

Why Choose Concrete for Outdoor Countertops?

Concrete countertops are renowned for their durability, weather resistance, and versatility. They can be shaped, textured, and colored in endless ways, allowing for complete customization to match your outdoor decor. Unlike other materials, concrete’s robustness makes it ideal for outdoor conditions, enduring sun, rain, and temperature changes with minimal wear.

Materials and Tools Needed

To start your project, you’ll need:

  • Quick-setting concrete mix
  • Plywood and melamine for molds
  • Rebar or mesh reinforcement
  • Screws and silicone caulk
  • Polishing pads and sealant
  • A mixer, trowel, and safety equipment

Creating Your Mold

  1. Design your countertop: Measure and plan the size and shape of your countertop, including any features like a sink or barbecue pit.
  2. Build the mold: Construct a mold using melamine-coated plywood, ensuring it’s securely fastened and leak-proof. Apply silicone caulk to the inside corners to create smooth edges.

Mixing and Pouring the Concrete

  1. Prepare your concrete mix: Follow the instructions on your concrete mix, adjusting for the size and thickness of your countertop.
  2. Add reinforcement: Place rebar or mesh within the mold to strengthen your countertop.
  3. Pour the concrete: Fill the mold with concrete, using a trowel to spread it evenly. Tap the sides to remove air bubbles.

Finishing Touches

  1. Cure the concrete: Allow the concrete to cure as per the mix instructions, usually for at least 48 hours.
  2. Remove the mold: Carefully dismantle the mold and sand any rough edges.
  3. Polish and seal: Polish the surface with polishing pads and apply a concrete sealant to protect against stains and weather damage.

Maintenance and Care

Maintaining your outdoor concrete countertop is straightforward. Regular cleaning with non-abrasive cleaners and reapplying sealant annually will keep your countertops looking new. Avoid placing hot items directly on the surface to prevent thermal shock and potential cracking.

Conclusion

Creating outdoor concrete countertops is a rewarding DIY project that adds functionality and style to your outdoor space. With their robustness and versatility, concrete countertops offer a perfect blend of aesthetics and durability, ideal for any outdoor setting. As you embark on your next outdoor project, consider integrating custom concrete countertops to create a space that’s both beautiful and enduring.

How to paint countertops

Painting countertops is an innovative way to refresh your kitchen or bathroom without undertaking a full renovation. Whether you’re dealing with outdated colors or surfaces that have seen better days, a coat of paint can transform your space dramatically at a fraction of the cost of replacement. This article is your guide to revamping your countertops with just a few tools and a weekend’s worth of effort.

In this article, you will learn:

  • The best types of paint for countertops.
  • Step-by-step instructions for painting countertops.
  • Tips for maintaining painted countertops.

Let’s dive into the world of countertop painting and unveil how you can give your counters a stunning makeover.

Why Paint Countertops?

The allure of painting countertops lies in its cost-effectiveness and the vast array of design possibilities it offers. Instead of splurging on granite, marble, or quartz, you can mimic these looks with paint or simply choose a color that complements your room’s décor. Painting is a quick and relatively easy way to update the appearance of your kitchen or bathroom, making it a popular choice for homeowners looking for a significant change without the significant investment.

Choosing the Right Paint

Not all paints are suitable for countertop application. Epoxy and acrylic are among the top choices due to their durability and ability to adhere to various surfaces. Epoxy offers a glossy, durable finish that can mimic the look of natural stone, while acrylic paints provide a wide range of color options and easier application. Consider your countertop’s usage, the finish you desire, and maintenance requirements when selecting your paint.

Preparation for Painting

A successful painting project begins with thorough preparation. Start by cleaning your countertops with a degreasing cleaner to remove any buildup, followed by sanding to create a surface that allows the primer and paint to adhere better. Choose a primer that’s compatible with your countertop material and the type of paint you’re using. Gather all necessary tools and materials before you begin to ensure a smooth process.

Step-by-Step Painting Process

  1. Apply Primer: After preparing your surface, apply a coat of primer and let it dry according to the manufacturer’s instructions.
  2. Paint: Using a roller or brush designed for smooth surfaces, apply your chosen paint in thin, even coats. Allow adequate drying time between coats, as recommended.
  3. Sealant: Once the paint is fully dry, apply a sealant to protect your newly painted countertops from scratches, stains, and water damage.

Finishing Touches

The right sealant not only extends the life of your painted countertops but also enhances their appearance. Opt for a food-safe sealant if your countertops will come into direct contact with food. Follow the product instructions for the best results, and allow plenty of drying time before using your countertops.

Maintenance and Care

Maintaining painted countertops is straightforward. Clean them regularly with non-abrasive cleaners and avoid cutting directly on the surface. Be mindful of hot pots and pans, as extreme heat can damage the paint and sealant. With proper care, your painted countertops can remain beautiful and durable for years.

Conclusion

Painting your countertops is a budget-friendly way to achieve a fresh, new look in your kitchen or bathroom. By selecting the right paint, preparing your surfaces properly, and following the step-by-step guide provided, you can transform your countertops into a stylish and functional focal point. To further enhance your home’s interior, consider exploring creative design ideas for a complete kitchen makeover as your next project. With a little effort and creativity, the possibilities are endless.

Ready to start your countertop painting project?

How to Paint Bathroom Countertops

Transforming your bathroom doesn’t always require a complete overhaul. Sometimes, a simple change like painting the bathroom countertops can breathe new life into the space. This DIY project is not only cost-effective but also allows for a high degree of customization, enabling you to create a look that perfectly matches your aesthetic preferences.

In this article, you will learn:

  • What materials and tools you’ll need to paint bathroom countertops.
  • A step-by-step guide to effectively paint your bathroom countertops.
  • Essential tips for maintaining your newly painted countertops.

Ready to give your bathroom a fresh, new look? Let’s dive into the details of how to successfully paint your bathroom countertops.

Why Paint Your Bathroom Countertops?

Painting your bathroom countertops is an excellent way to refresh your space without the hefty price tag of a total renovation. Here are a few reasons why this DIY project is worth considering:

  1. Cost-Effectiveness: Replacing countertops can be expensive. Painting them, on the other hand, is a budget-friendly alternative that still offers a significant aesthetic upgrade.
  2. Customization: With a variety of paints and finishes available, painting your countertops allows you to tailor the look to your exact preferences. Whether you’re aiming for a sleek modern look or a cozy, rustic vibe, you have complete creative control.
  3. Revitalizing Outdated Surfaces: Over time, countertops can become dull, scratched, or simply outdated. A fresh coat of paint can rejuvenate these surfaces, giving your bathroom a more contemporary feel.

By opting to paint your bathroom countertops, you’re choosing a path that’s not only economical but also creatively fulfilling. Next, we’ll look at the materials and tools you’ll need to get started.

Materials and Tools Needed

Before you begin the process of painting your bathroom countertops, it’s essential to gather all the necessary materials and tools. Having everything on hand will make the process smoother and more efficient. Here’s what you’ll need:

  1. Sandpaper or a Sanding Block: To smooth the surface and ensure the paint adheres properly.
  2. Primer: A good quality primer will help the paint stick and increase its durability.
  3. Acrylic or Epoxy Paint: Choose a paint designed for countertops or surfaces that endure moisture and wear.
  4. Paint Brushes and Rollers: For applying primer and paint. Foam rollers are excellent for a smooth finish.
  5. Painter’s Tape: To protect walls and fixtures around the countertop.
  6. Drop Cloths or Newspapers: To cover the floor and prevent paint splatters.
  7. Sealant: A clear sealant will protect your paint job and make it last longer.
  8. Safety Gear: Gloves, masks, and goggles for personal protection.

Optional:

  • Decorative Elements: If you want to add designs or textures.
  • Fine Grit Sandpaper: For sanding between coats for an ultra-smooth finish.

With your materials and tools ready, you’re set to begin the transformation of your bathroom countertops. Up next, we’ll go through how to prepare your countertop for painting.

Preparing Your Countertop for Painting

The key to a successful paint job is in the preparation. Properly preparing your bathroom countertop ensures that the paint adheres well and lasts longer. Follow these steps to get your countertop ready for its new look:

  1. Clean the Countertop: Begin by thoroughly cleaning the countertop to remove any dirt, grime, or residues. Use a mild detergent and water, and make sure the surface is completely dry before proceeding.
  2. Sand the Surface: Lightly sand the countertop with sandpaper or a sanding block. This creates a rougher surface for the primer to adhere to. Be sure to sand evenly to avoid uneven textures.
  3. Clean Again: After sanding, wipe down the countertop with a damp cloth to remove any dust or particles. Allow it to dry completely.
  4. Apply Painter’s Tape: Use painter’s tape to protect the edges of the countertop, walls, sink, and any other areas that you don’t want to be painted.
  5. Prime the Surface: Apply a coat of primer to the countertop. This will help the paint stick better and also provide a more uniform finish. Allow the primer to dry as per the manufacturer’s instructions.

Once your countertop is clean, sanded, and primed, it’s ready for painting. This preparation stage is crucial for a smooth and durable finish, so take your time to do it right.

Painting Your Bathroom Countertop

Now that your countertop is primed and ready, it’s time to paint. This step transforms your countertop, so following the correct technique is key for a professional-looking finish. Here’s how to do it:

  1. Choose Your Paint: Select a high-quality acrylic or epoxy paint suitable for countertops. These types of paint are durable and can withstand the moisture and wear typical in bathrooms.
  2. Apply the First Coat of Paint: Using a brush or foam roller, apply the first coat of paint in even strokes. Be sure to cover the entire surface, including the edges. Foam rollers are great for achieving a smooth finish without brush marks.
  3. Let it Dry: Allow the first coat to dry completely. Check the paint’s instructions for the recommended drying time, which can vary depending on the product and environmental conditions.
  4. Apply Additional Coats: Depending on the coverage and the color you’re using, you may need additional coats. Sand lightly with fine-grit sandpaper between coats for an ultra-smooth finish. Ensure each coat is completely dry before applying the next.
  5. Apply a Sealant: Once the final paint coat is dry, apply a clear sealant. This will protect your paint job and make it more durable. It also makes the surface easier to clean and maintain.
  6. Remove Painter’s Tape: After the sealant has dried, carefully remove the painter’s tape. Do this slowly to ensure you don’t peel off any paint with it.

Voila! You’ve successfully painted your bathroom countertop. With patience and attention to detail, you can achieve a stunning and durable finish.

Aftercare and Maintenance

Congratulations on your newly painted bathroom countertop! To ensure it stays looking great for years to come, proper aftercare and maintenance are essential. Here are some tips to keep your countertop in top condition:

  1. Allow Proper Curing Time: Before using your countertop, allow enough time for the paint and sealant to fully cure. This can take several days, depending on the products used and environmental conditions.
  2. Gentle Cleaning: Use mild soap and water for cleaning. Avoid abrasive cleaners or scrubbers that can scratch or wear down the paint and sealant.
  3. Avoid High Heat and Harsh Chemicals: Keep hot items and harsh chemicals away from the countertop surface. These can damage the paint and sealant, leading to discoloration and deterioration.
  4. Regular Maintenance: Wipe up spills promptly to avoid staining, and dust the surface regularly to keep it looking fresh.
  5. Touch-Up as Needed: If you notice any chips or wear over time, you can touch up these areas with the same paint and sealant used initially. A small brush can be used for precision.

By following these care and maintenance tips, your painted bathroom countertop will remain a beautiful and functional part of your home.

Conclusion

Revamping your bathroom countertop with a fresh coat of paint is an achievable, rewarding DIY project that can dramatically change the look and feel of your bathroom. From selecting the right paint to the final touches of sealant, each step brings you closer to a stunning transformation.

  • The necessary materials and tools ensure you start off well-prepared and ready for the task.
  • Step-by-step instructions guide you through the process, making it manageable even for those new to DIY projects.
  • Aftercare and maintenance tips help prolong the life and beauty of your painted countertops, ensuring lasting satisfaction with your work.

How thick are quartz countertops?

Quartz countertops have surged in popularity, renowned for their durability and aesthetic versatility. If you’re considering quartz for your kitchen or bathroom, a crucial aspect to understand is the thickness of these countertops. This seemingly minor detail can significantly impact both the appearance and functionality of your space.

In this article, you will learn:

  • The common thickness options for quartz countertops.
  • How to decide on the best thickness for your needs.
  • Practical tips for choosing the right quartz countertop thickness.

Selecting the perfect quartz countertop thickness can elevate your space, blending functionality and style seamlessly. Let’s delve into the details to help you make an informed decision.

Understanding Quartz Countertops

Quartz countertops, a staple in modern homes, are celebrated for their durability and wide range of designs. Unlike natural stone countertops, quartz is engineered, combining natural quartz with polymer resins. This blend not only makes them tough and long-lasting but also gives them a non-porous surface, which is ideal for hygiene and maintenance.

This engineered nature allows for more control over characteristics like color, pattern, and yes, thickness. Unlike natural stone slabs that come in limited thickness ranges, quartz countertops offer more versatility. Understanding this unique feature of quartz is key to making the right choice for your space.

Now that we have a basic understanding of what quartz countertops are, let’s explore the standard thicknesses available and what they mean for your home.

Standard Thicknesses of Quartz Countertops

When it comes to quartz countertops, thickness can vary, but there are standard measurements that most manufacturers and designers stick to. Typically, quartz countertops are available in three thicknesses: 1 cm (10mm), 2 cm (20mm), and 3 cm (30mm). Each thickness has its unique appeal and application, making it important to understand the differences.

  1. 1 cm (10mm): This is the thinnest option available. It’s often used for prefabricated pieces, like bathroom vanity tops, and is sometimes reinforced with a plywood backing for extra stability. Due to its sleek profile, it can give a very modern, minimalist look.
  2. 2 cm (20mm): This thickness is more versatile and can be used for both kitchen and bathroom countertops. It offers a balance between durability and a sleek appearance. It’s lighter than the 3 cm option, making it easier to handle and install, but it might require additional support for long spans.
  3. 3 cm (30mm): The thickest option, often preferred for its sturdiness and luxurious feel. It’s widely used in kitchens for its ability to withstand heavy use and for its substantial, high-end appearance. This thickness is self-supporting in most cases, which means it doesn’t usually require plywood backing.

While these are standard sizes, custom thicknesses can also be created by laminating a thinner slab to build up its edge, offering a more pronounced profile. Your choice will depend on the aesthetic you’re aiming for and the functional needs of your space.

Factors Influencing Countertop Thickness Choice

Choosing the right thickness for your quartz countertop isn’t just about aesthetics; it involves considering several key factors. Here’s what to keep in mind:

  1. Aesthetic Considerations: The thickness of your countertop can significantly impact the overall look of your kitchen or bathroom. A thicker countertop often exudes a sense of luxury and is a statement piece, while thinner countertops are more sleek and modern.
  2. Functional Aspects: Thicker countertops tend to be more durable and can withstand more weight. This makes them ideal for heavy-use areas like kitchens. Thinner countertops, while still durable, might be more suitable for areas like bathrooms where the countertop may not be under as much stress.
  3. Installation Implications: Thicker quartz slabs are heavier and may require additional support during installation. This can impact the cost and complexity of your project. Conversely, thinner slabs are lighter and can be easier to handle, but they might require additional support structures, especially over larger spans.
  4. Cost Implications: Generally, thicker quartz countertops are more expensive. Not only are you paying for more material, but the increased weight can also impact transportation and installation costs. If budget is a concern, consider the thinner options or discuss cost-effective solutions with your supplier or installer.

Understanding these factors will help you make a more informed decision about the thickness of your quartz countertop. It’s not just about what looks good, but what works best for your specific needs and space.

Choosing the Right Thickness for Your Space

Selecting the ideal thickness for your quartz countertop is a crucial decision that balances aesthetics, functionality, and practicality. Here are some tips to guide you in making the best choice for your space:

  1. Match Thickness with Kitchen Style: Consider the overall style of your kitchen or bathroom. A thicker countertop can complement a traditional or high-end luxury design, offering a robust, statement look. For modern or minimalistic designs, a thinner countertop can enhance the sleek, clean lines you might be aiming for.
  2. Durability and Maintenance Considerations: While all quartz countertops are durable, the thickness can affect their resistance to damage and longevity. Thicker countertops may be more resilient to heavy use and less prone to chipping. Consider your lifestyle and the level of activity your countertop will endure.
  3. Professional Consultation: It’s always advisable to consult with a kitchen design professional or countertop installer. They can provide valuable insights into what thickness would work best in your space, considering factors like cabinet support, overhang, and the overall layout of your kitchen or bathroom.
  4. Visualize the End Result: If possible, use samples or digital tools to visualize different thicknesses in your space. This can help you get a better sense of how the countertop will look and feel in your actual environment.

Remember, the right thickness is not just a matter of preference but a balance between design, function, and practicality. Take the time to weigh these factors to ensure that your quartz countertop is not only beautiful but also a perfect fit for your home.

Conclusion

In this journey through the world of quartz countertops, we’ve explored the various thicknesses available and delved into the factors that influence this crucial choice. Whether you opt for the sleek elegance of a 1 cm slab, the balanced appeal of 2 cm, or the robust presence of a 3 cm countertop, each thickness brings its unique character to your space.

  • The common thickness options for quartz countertops provide flexibility in design and application, catering to different aesthetic and functional needs.
  • Deciding on the best thickness involves balancing factors like style, durability, installation requirements, and budget.
  • Practical tips for choosing the right quartz countertop thickness emphasize the importance of considering your lifestyle, consulting professionals, and visualizing the end result in your space.

How to clean quartz countertops

Quartz countertops are a staple in modern kitchens and bathrooms, renowned for their durability and aesthetic appeal.

Maintaining the pristine condition of your quartz countertops is not just about preserving their beauty; it’s about ensuring their longevity. The right cleaning methods can make a significant difference, transforming a mundane chore into an effective routine. In this article, you will learn:

  • The best practices for daily cleaning of quartz countertops.
  • How to tackle tough stains without damaging the quartz.
  • Tips for maintaining the longevity and shine of quartz surfaces.

As we delve into the world of quartz care, let’s begin with the basics of daily cleaning to keep your countertops sparkling.

Daily Cleaning Methods

Keeping your quartz countertops in top shape is simpler than you might think. The key lies in regular, gentle cleaning, which not only maintains their shine but also extends their life.

1. Gentle Cleaning Routine: Start with wiping down your countertops daily with a soft cloth or sponge. This removes crumbs, dust, and minor spills, preventing them from building up over time.

2. Choosing the Right Cleaning Solutions: For a deeper clean, use a mild dish soap mixed with water. Avoid using harsh chemicals, as they can dull the quartz’s finish. Simply apply the soapy solution with a non-abrasive sponge and rinse thoroughly with water to avoid leaving soap residue.

3. Drying the Countertop: After cleaning, always dry the countertop with a soft cloth. This step is crucial to prevent water spots, especially in areas with hard water.

4. Immediate Attention to Spills: Quartz is resistant to staining, but it’s still important to clean spills immediately, especially acidic substances like coffee, wine, or tomato sauce. Letting these spills sit can make them harder to remove and might etch the surface over time.

These simple steps, when done daily, keep your quartz countertops not just clean, but also in prime condition for years to come.

Tackling Tough Stains and Spills

Even with the most careful use, quartz countertops can fall victim to tough stains. However, with the right approach, you can tackle these challenges without damaging the surface.

1. Identifying the Stain: The first step is to identify the type of stain. Is it an oil-based stain like grease, or a pigmented stain like wine or coffee? This identification will guide your cleaning method.

2. Homemade Cleaning Solutions: For most tough stains, a paste made from baking soda and water can be effective. Apply the paste to the stain, let it sit for 5-10 minutes, and gently scrub with a soft brush or cloth. Rinse thoroughly with water.

3. Avoiding Harsh Chemicals: Steer clear of abrasive scrubbers and harsh chemicals like bleach or ammonia. These can damage the surface of your quartz countertops, leading to dullness and discoloration.

4. Dealing with Persistent Stains: For more stubborn stains, a glass cleaner or a degreasing agent can be used sparingly. Always test a small, inconspicuous area first to ensure it doesn’t affect the finish of your quartz.

5. Regular Maintenance: Regular maintenance can prevent the need for aggressive cleaning. Wiping up spills as soon as they occur and avoiding placing hot items directly on the surface will go a long way in keeping your quartz countertops stain-free.

By following these guidelines, you can keep your quartz countertops looking as good as new, no matter what life throws their way.

Long-Term Maintenance and Care

Quartz countertops are valued for their durability, but their longevity greatly depends on how they’re cared for over time. Here are some key tips for ensuring your countertops remain as stunning as the day they were installed:

1. Avoiding Extreme Temperatures: Quartz is resilient, but it’s not invincible. Protect your countertops from extreme heat by using trivets or hot pads under pots and pans. Direct exposure to high temperatures can cause quartz to crack or discolor.

2. Using Cutting Boards: While quartz is scratch-resistant, it’s not scratch-proof. Always use cutting boards to prevent scratches or gouges on the surface.

3. Long-Term Sealing Isn’t Necessary: Unlike natural stone, quartz doesn’t require periodic sealing. Its non-porous surface is naturally resistant to staining and bacteria, making it low-maintenance and hygienic.

4. Protecting from Harsh Sunlight: If your quartz countertops are exposed to direct sunlight, consider using window coverings to minimize UV exposure. Prolonged exposure to sunlight can cause the colors in quartz to fade over time.

5. Professional Products: For deep cleaning, consider products specifically designed for quartz. These are formulated to clean effectively without damaging the surface.

By adopting these practices, you ensure that your quartz countertops not only retain their beauty but also their structural integrity, giving you a lasting return on your investment.


Common Myths and Mistakes

When it comes to maintaining quartz countertops, misinformation can lead to costly mistakes. Let’s debunk some common myths and outline the best practices to avoid these pitfalls.

1. Myth: Quartz Can Handle Anything: While quartz is durable, it’s not indestructible. Exposing it to extreme heat, harsh chemicals, or sharp objects can cause damage. Treat your quartz countertops with care to preserve their longevity.

2. Mistake: Using Harsh Cleaners: One common mistake is using abrasive cleaners or scrubbers. These can dull the polished surface of quartz. Stick to mild soap and water or cleaners specifically formulated for quartz.

3. Myth: Quartz Never Stains: Though quartz is highly stain-resistant, it’s not stain-proof. Certain substances, if left unattended, can leave a mark. Promptly cleaning spills, especially acidic or pigmented ones, is crucial.

4. Mistake: Neglecting Spills: Ignoring spills, especially of acidic substances like coffee or wine, can lead to staining. Always wipe up spills immediately with a soft cloth or sponge.

5. Myth: All DIY Cleaners Are Safe: Be cautious with homemade cleaning solutions. Some natural substances, like lemon juice or vinegar, are acidic and can damage the quartz surface over time.

By avoiding these common myths and mistakes, you can ensure that your quartz countertops remain a beautiful and functional aspect of your home for years to come.

Conclusion

In this article, we’ve explored the essentials of keeping your quartz countertops in pristine condition. From the simplicity of daily cleaning to the nuances of tackling tough stains, we’ve seen that proper care is both easy and essential. By avoiding common myths and embracing correct maintenance practices, you can ensure your quartz surfaces remain as lustrous and durable as they were on day one. The key takeaways are:

  • Regular, gentle cleaning preserves the beauty of quartz countertops.
  • Immediate attention to spills and avoiding harsh chemicals is crucial for stain prevention.
  • Long-term care, such as using cutting boards and avoiding extreme temperatures, ensures lasting durability.

As you continue on your journey to maintain a beautiful and functional home, consider exploring deeper into the world of home care and maintenance. Perhaps learning about eco-friendly cleaning solutions or innovative kitchen organizing tips could be your next step. With the right knowledge and a bit of effort, your home can be both stunning and sustainable.